Product Care Guide
Last updated: 23 April 2026 | 5 min read
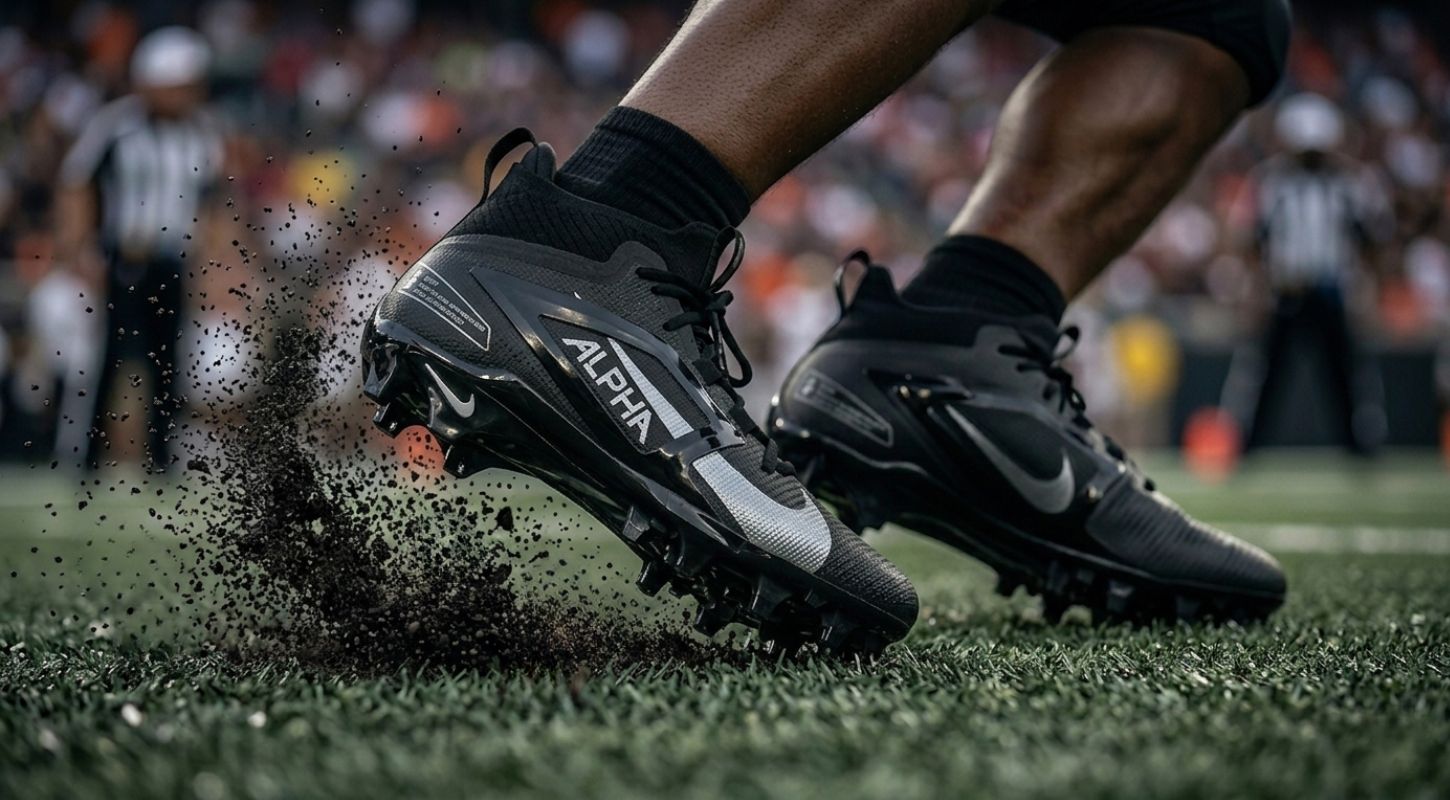
Proper cleat maintenance is one of the most overlooked aspects of player equipment care. Dirty cleats lose traction, worn studs increase the risk of slipping, and neglected materials break down far sooner than they should. A few minutes of cleaning after every training session or match is all it takes to keep your studs performing at their best and your cleats lasting well beyond a single season. This guide applies to cleats from all major manufacturers, including Nike, Under Armour, and adidas.
Even the best care routine cannot restore a pair that has reached the end of its useful life. Consider replacing your cleats if the studs are worn down flat or uneven, the upper is cracking, stiff, or torn, the sole is beginning to separate from the body of the shoe, or there is a persistent odour that does not respond to cleaning. If your cleats remain structurally sound, regular maintenance will keep them performing reliably for multiple seasons.
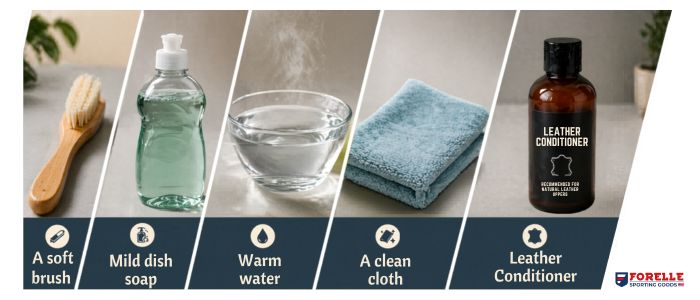
To mantain football cleats the right way, you’ll need:
Step 1: Initial Mud and Debris Removal
Remove your cleats immediately upon leaving the playing surface. Avoid walking on concrete, pavement, or any hard surface while wearing them, as this accelerates stud wear and can warp the sole over time.
Knock the soles together firmly to dislodge loose mud, grass, and debris. Follow this with a quick dry scrub of the studs and outsole using your brush. Completing this step right after play prevents dirt from hardening within the stud pattern, which significantly reduces traction during subsequent sessions. It takes under a minute and makes the rest of the cleaning process much easier.
Step 2: Remove the Laces and Insoles
Remove both the laces and insoles before proceeding with any further cleaning. Doing so allows thorough access to all areas of the shoe's interior and prevents accumulated sweat and dirt from continuing to break down the materials from within.
Wash the laces by hand using mild soap and warm water, or place them inside a mesh laundry bag and run them through a gentle machine cycle. Clean the insoles the same way, rinse thoroughly, and set both aside to dry separately.
Step 3: Clean the Outsole and Studs
Prepare a solution of warm water and a small amount of mild dish soap in a bucket or sink. Using a brush or cloth dampened with the solution, scrub the entire outsole with particular attention given to the studs and the grooves surrounding them. These areas accumulate the most compacted dirt and are the most critical to cleat performance.
For narrow or heavily soiled areas, a toothbrush or cotton swab will provide more precise cleaning. Once complete, rinse the outsole lightly with clean water. Do not submerge the cleat fully, as prolonged soaking can weaken the adhesive bonding the sole to the upper and may cause damage to the internal materials.
Step 4: Clean the Upper
Using the same mild soapy solution and a fresh cloth or sponge, wipe down the exterior of the upper in gentle circular motions. Focus on stained areas and zones where sweat has accumulated. Avoid scrubbing aggressively, as this can damage the surface finish or weaken the material.
• For cleats with natural leather uppers, apply a thin layer of leather conditioner after cleaning. This keeps the material supple and prevents drying or cracking over time.
• For cleats with mesh or knit uppers, use minimal water and handle the material gently to preserve breathability and fit.
Harsh cleaning products, bleach, or solvent-based solutions should be avoided regardless of upper material type.
Step 5: Dry and Store Properly
After cleaning, stuff both cleats firmly with balled-up newspaper or paper towels. This draws residual moisture out of the interior and helps the shoe retain its original shape as it dries.
Place the cleats in a cool, well-ventilated area and allow them to air-dry fully, typically overnight. Keep them away from direct sunlight, radiators, portable heaters, and hair dryers. Exposure to direct heat is one of the leading causes of upper cracking and sole separation. Once completely dry, remove the stuffing, re-lace the cleats, and store them in a cool, dry place away from damp sports bags or poorly ventilated spaces.

White cleat maintenance: A paste made from baking soda and water can be applied gently to brighten discoloured areas. Allow it to sit for a few minutes before wiping clean.
Rotating between pairs: Players who train year-round are advised to rotate between two pairs when possible, giving the cushioning and structural materials in each pair time to recover between uses.
Machine washing: Placing cleats in a washing machine is not recommended. The combination of heat, agitation, and prolonged water exposure can warp the sole, compromise the upper, and significantly shorten the usable life of the cleat.
Cleaning frequency: The full cleaning routine should be performed affter every match or intensive training session. Allowing dirt and moisture to sit between sessions accelerates material degradation
Consistent cleat maintenance directly affects the grip, responsiveness, and durability of your footwear during match conditions. Studs kept clean and intact allow for sharper cuts, stronger acceleration, and more reliable footing throughout the full duration of play. A routine that takes only a few minutes per session can extend the life of a quality pair of cleats by one or more full seasons.